
One day, while I was telling my son, “Time to clean up!”, he brought me a pile of papers—drawings, used origami sheets, and other scraps he had been keeping for no particular reason.
Before I knew it, the pile had grown quite a bit!
As he was gathering the papers, my son suddenly lit up with an idea:
“Let’s make recycled paper! That way we can use it again—and it’s eco-friendly, right?” ✨
And so, our family’s recycled paper project began.
What We Prepared — Using Things from Home and Dollar Tree
Here’s what we used for our paper-making:
- Used paper (drawings, origami, etc.)
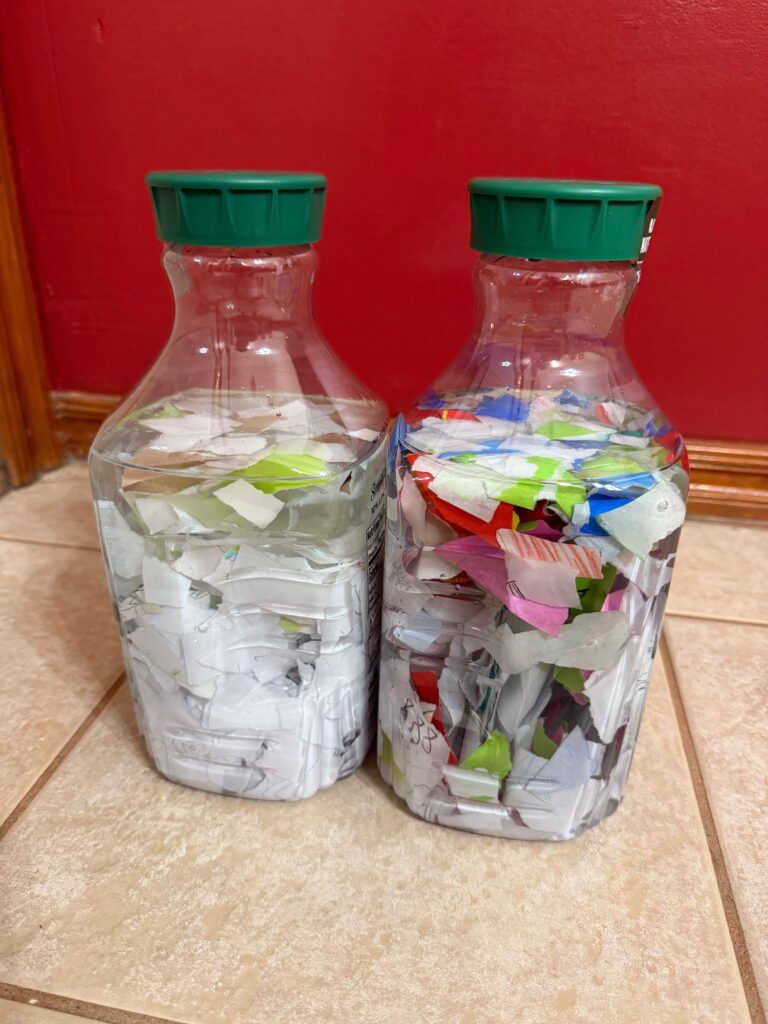
- 2 empty plastic bottles (we reused lemonade bottles)
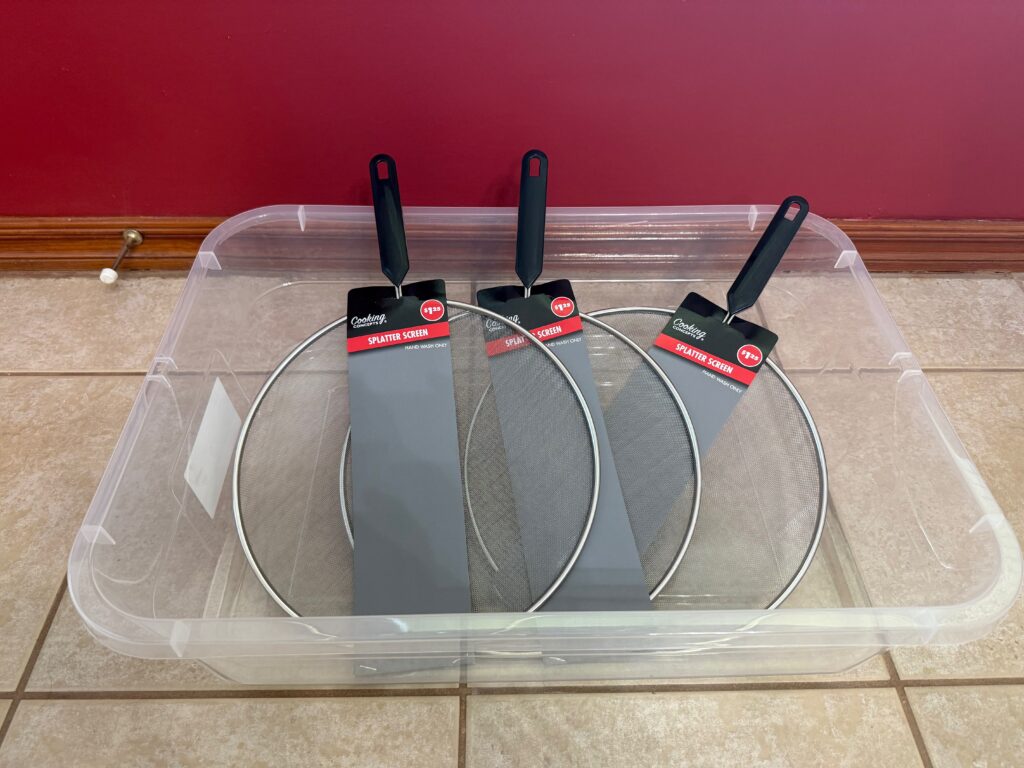
- 3 mesh screens (purchased at Dollar Tree)
- 1 container (for straining the pulp / purchased at Dollar Tree for $5)
- A bucket (for cleanup afterward)
- Cleaning cloths (for removing excess water)
- Cardboard (to protect the surface during work)
- Placemats (to place over the cardboard)
You don’t need any special tools—just items from around the house and inexpensive finds from places like Dollar Tree. That’s the great thing about making recycled paper—it’s easy to start!
How We Made the Recycled Paper
① The Day Before
Tear the used paper into small pieces and put them into the plastic bottles.
Add water and let them soak overnight.
② On the Day
- Some pieces were still large, so we took them out of the bottles and tore them into smaller bits.
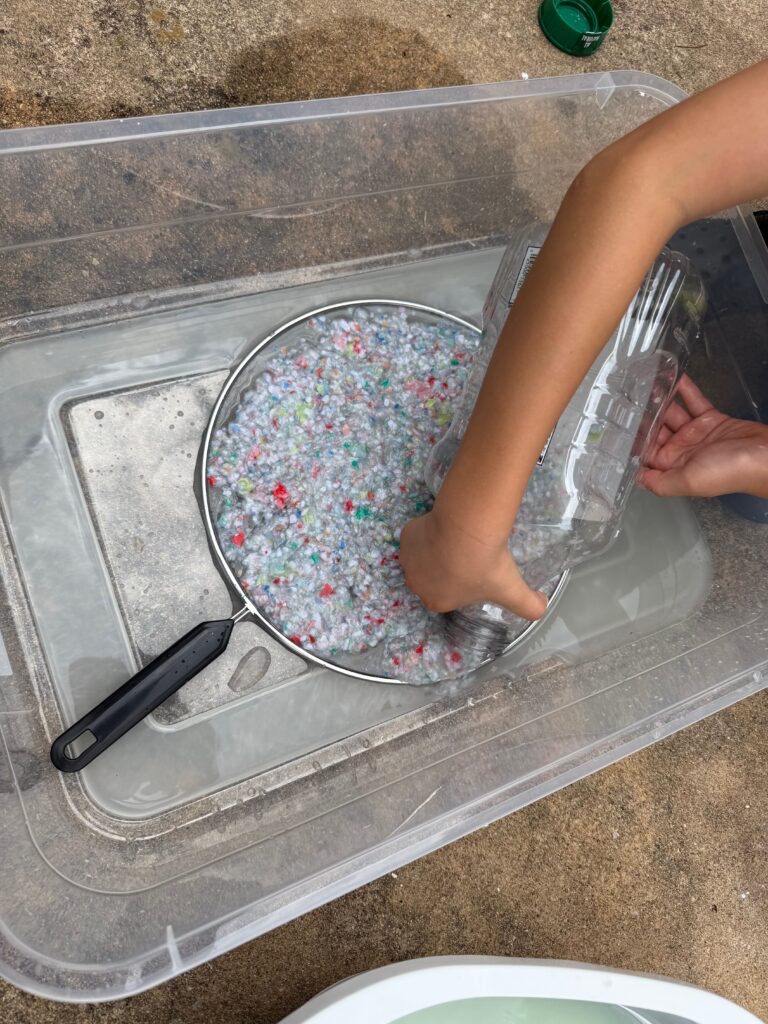
- Put the paper back in, add water, and shake vigorously until the paper dissolves into pulp.
- Pour the pulp onto the mesh screen, spreading it evenly.
- If there are gaps, it helps to put some water in the container to spread the pulp more smoothly.
- Place another screen on top, then press with a cloth to absorb water.
The whole process took about an hour. Drying time will vary depending on the thickness and moisture level.
We decided to work on the ground so we could drain water more easily.
We laid down cardboard, then a placemat we found in the house, creating an instant work station.
After pouring the pulp, we placed the mesh on top and gently pressed out the water. Then we patted the surface with a cloth to remove even more moisture.
Drying and the Final Result
We first dried the sheets on an outdoor table, keeping them flat since they were still fragile at this stage.
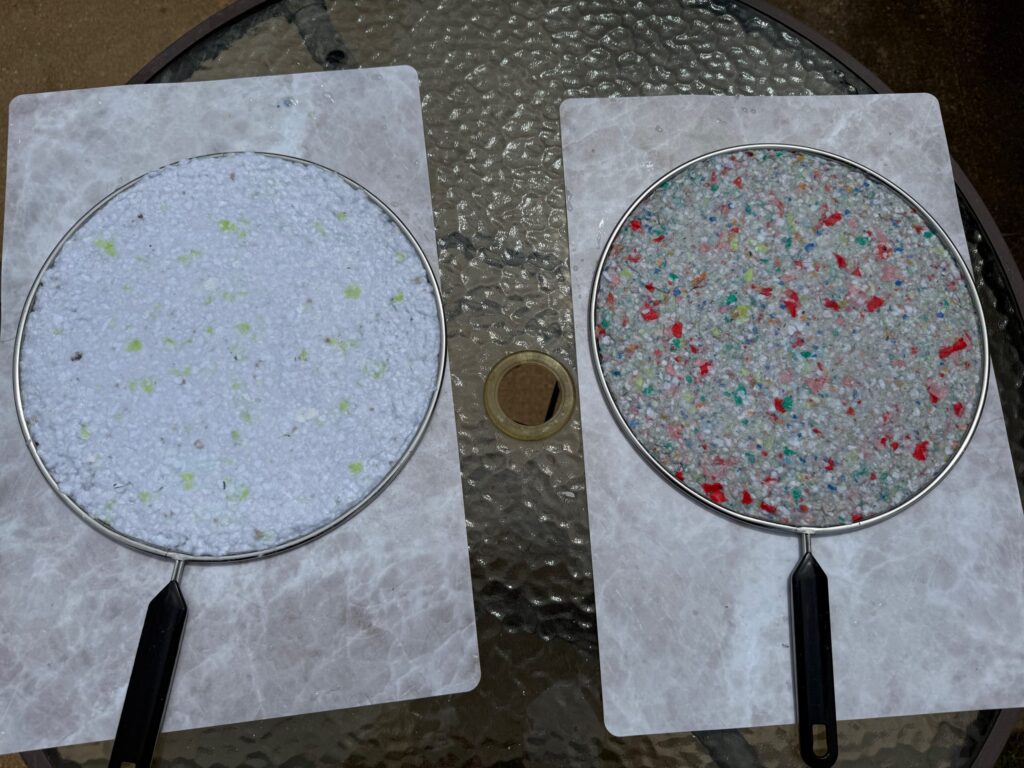
When they were firm enough, we used S-hooks to hang them in a breezy spot until evening.
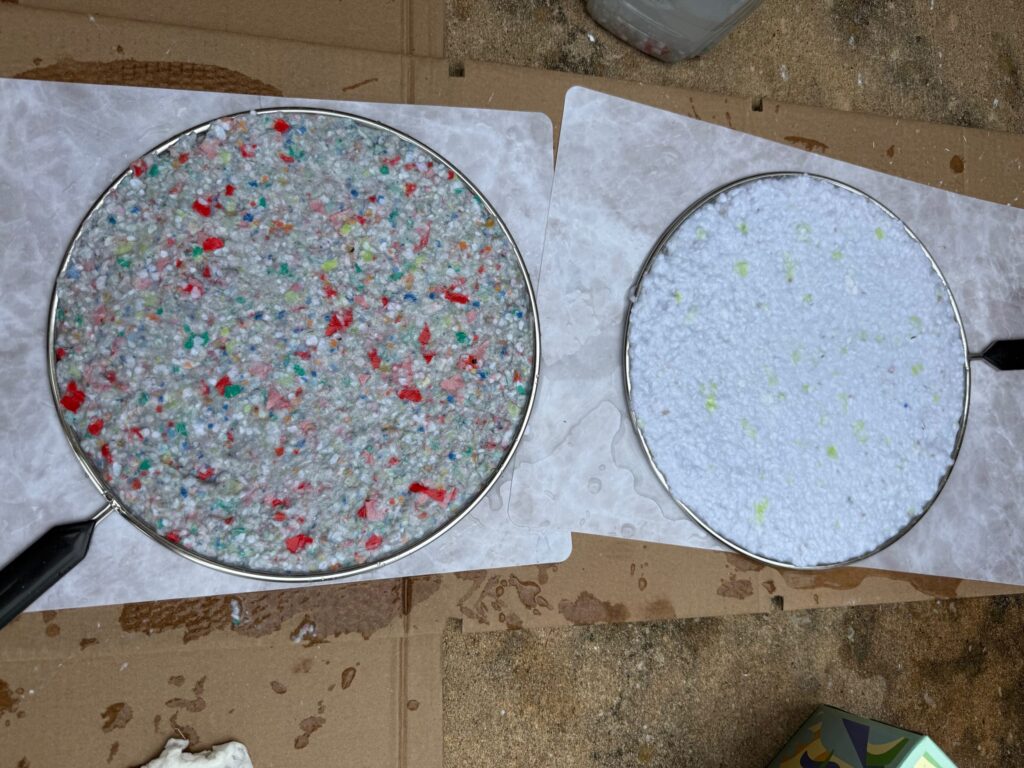
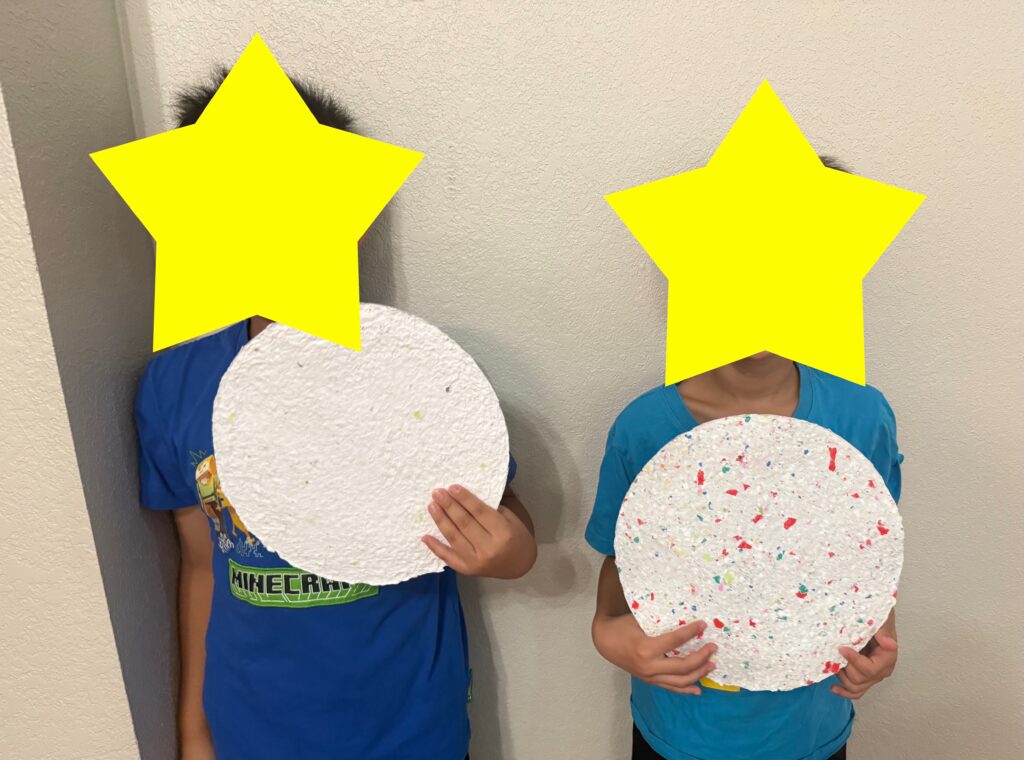
The thinner sheets made by my younger son were done by the evening, while the thicker ones from my older son needed to hang indoors overnight.
This time, instead of the traditional “scoop the pulp” paper-making method, we simply poured the pulp from the bottles directly onto the screen. This naturally created thicker, more textured sheets.
My son even used one of his sheets to play frisbee!
In Closing
This whole adventure started from simply tidying up.
Instead of throwing paper away, we enjoyed transforming it into something new and useful.
Shaking the bottles was hard work—my kids kept saying, “I’m tired!”—but they stayed focused and had fun. There was even a little mishap when a bottle slipped and spilled, but that just added to the memories.
Because we worked outside, we didn’t worry about making a mess. And once we were done, my son jumped straight into playing with water in the yard—a perfect summer day!
This is a great idea for a summer break science project or a weekend craft with the kids.
Give “Recycled Paper Making at Home” a try with your family! 🌿

